Propagation Hub
Spider Plant Propagation: How to Root Babies in Water or Soil
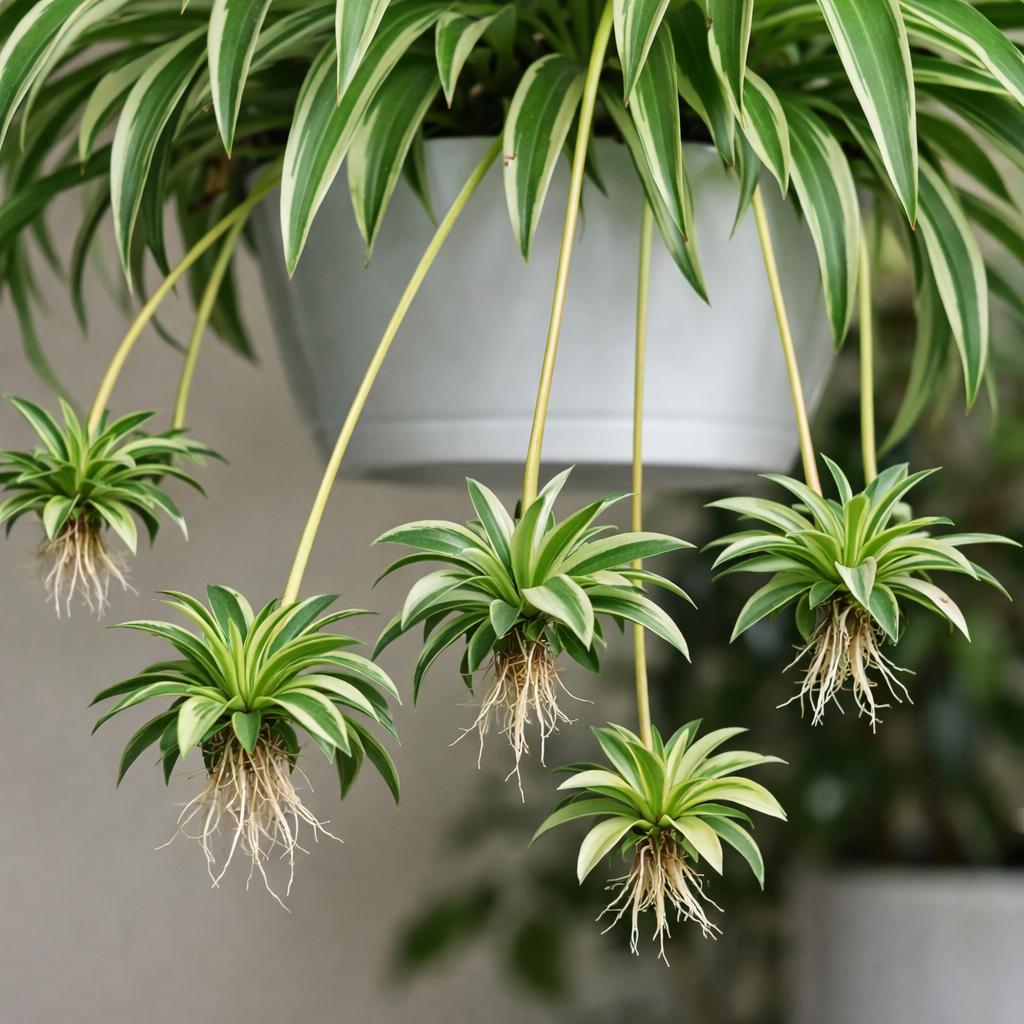
Spider plants are easiest to propagate from mature spiderettes, also called babies or plantlets. Most healthy babies root in 1 to 3 weeks when given bright, indirect light, moderate warmth, and either clean water or lightly moist soil.
Quick answer
- Choose a mature baby with multiple leaves and root nubs.
- Root in water if you want visibility, or soil if you want a direct transition.
- Keep light bright but indirect.
- Expect first roots in roughly 1 to 3 weeks.
- Move to normal spider plant care after roots establish.
How to know a spider plant baby is ready
Not every baby plant should be cut right away. The fastest propagation success usually comes from spiderettes that already show visible maturity.
| What you see | What it means | Best next move |
|---|---|---|
| Several leaves and a firm crown | The baby is mature enough to root well. | Safe to root in water or soil. |
| Visible root nubs at the base | Rooting is likely to start quickly. | A strong candidate for cutting. |
| Very tiny baby with no root nubs | The spiderette may still be immature. | Leave it attached longer. |
| Yellowing or weak spiderette | The baby may be stressed or underdeveloped. | Improve the mother plant’s care first. |
Water propagation
Best if you want to watch roots form and confirm progress visually.
Pros
- Easy to monitor roots
- Good for beginners
- Simple to restart if a cutting fails
Watch-outs
- Needs water changes
- Roots still need a soil transition later
Soil propagation
Best if you want the baby to establish directly in its final medium.
Pros
- No separate transplant step
- Roots adapt to soil immediately
- Often less transition shock
Watch-outs
- Harder to see progress
- Too much moisture can rot the base
Step-by-step propagation workflow
- 1. Pick the right baby. Choose one with several leaves and visible root nubs, not a tiny undeveloped plantlet.
- 2. Use clean scissors if cutting. Some growers root babies while still attached, but cut propagation is cleaner for most setups.
- 3. Place the base in water or soil. Only the base should stay wet. Do not bury the crown deeply.
- 4. Give bright, indirect light. Direct sun slows recovery and dries out tender growth too quickly.
- 5. Wait for roots. Refresh water every few days or keep soil lightly moist until the baby anchors and begins growing.
- 6. Shift to normal care. Once established, water by checking the top 1 to 2 inches of soil rather than keeping the mix constantly wet.
Aftercare that prevents propagation failure
Keep the pot small. A pot that is too large stays wet too long and makes new roots more vulnerable to rot.
Do not overwater. Most propagation failures happen after planting, not during rooting.
Avoid heavy fertilizer early. New roots do not need aggressive feeding.
Measure success by new growth. A rooted baby that starts pushing fresh leaves has crossed the hard part.