Spider Plant Care Basics
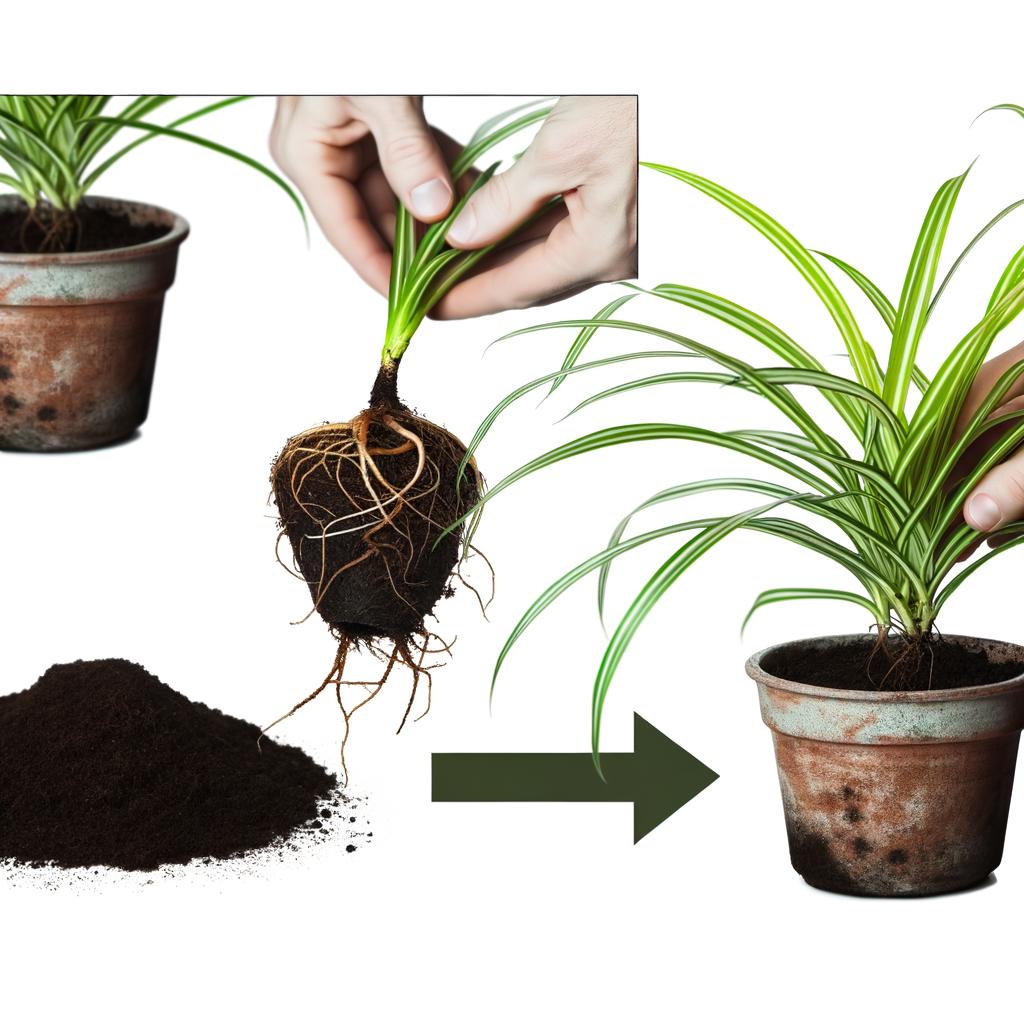
Spider Plant Repotting: When to Do It and How to Avoid Stress
Repotting helps spider plants when the roots are crowded, the soil is exhausted, or the current container is making watering harder. It does not help to repot just because the plant has filled out. In many homes, sizing up too aggressively creates more problems than staying slightly rootbound.
Last updated March 27, 2026
Quick answer
- Repot for a reason: roots, stale mix, or drainage problems.
- Move up only modestly in pot size.
- Fresh airy mix often matters more than a much bigger pot.
- Spring is easiest, but rescue repotting can happen anytime.
- Do not fertilize heavily right after repotting.
Repotting guide by situation
| What you see | What it usually means | Best next step |
|---|---|---|
| Roots filling the pot and drying it very fast | Rootbound enough to consider repotting | Move up modestly and use fresh airy mix. |
| Wet soil lingering too long in a very large pot | Pot may already be too big | Do not size up further. Review drainage and root health instead. |
| Roots are black or mushy | This is a rescue repot, not routine repotting | Trim rot and repot for recovery. |
| Healthy plant but only mildly rootbound | Repotting may be optional for now | Repot only if you need more soil capacity or easier watering. |
| Old compacted mix that no longer rewets well | Fresh soil may help more than a much bigger pot | Refresh the mix and keep sizing conservative. |
What makes repotting go well
The best repotting outcomes usually come from conservative sizing, fresh soil, and minimal extra stress. Spider plants recover faster when you keep the transition simple and do not overcorrect.
Roots do not need a huge amount of extra space. They need a root zone that drains well and rewets predictably without staying stale.
Post-repot care
- Light: bright indirect light, not harsh direct sun.
- Water: enough to settle the mix, then avoid keeping it constantly wet.
- Fertilizer: wait until the plant has settled and resumed growth.
- Patience: mild pause after repotting can be normal while roots reestablish.